Appraisals
- Appraisal Toolkit Administrator
My Appraisals
The Appraisal area of Appraisal Toolkit for Nurses stores all of your current and historic appraisals and allows you to view, edit and download them.
Click the links below for more information on:
Current appraisals

Any appraisals you are currently working towards (i.e. that are not yet completed) or that have been allocated and not yet started, are displayed here.
| Status | Explanation |
|---|---|
| Open | The appraisal has been set by the organisation but not started. To start, click the 'Start' link to the right of the item |
| In Progress | The appraisal has been started, but is not complete. To continue editing, click the 'Edit' link to the right of the item. |
| submitted | Your appraisal has been filled in and submitted to the Appraiser, but they have not yet started reviewing it. |
| Appraising in progress | Your Appraiser has started to review your appraisal |
| Awaiting your sign off | You need to review the appraisal outputs and sign off your appraisal |
| Complete | Both parties have signed off the appraisal and it is considered fully complete |
To start an "Open" appraisal:
- Click
 to the right of the item.
To view or continue adding evidence to an appraisal:
- Click
 to the right of the item.
Historic appraisals
Any appraisals you complete using Clarity's Appraisal Toolkit for Nurses can be found in the Historic Appraisals tab, along with any appraisals you wish to upload manually.
- To view a historic appraisal, click to the right of the item.

To add a historic appraisal:
- Click

There are two tabs to complete: Details and Documents.
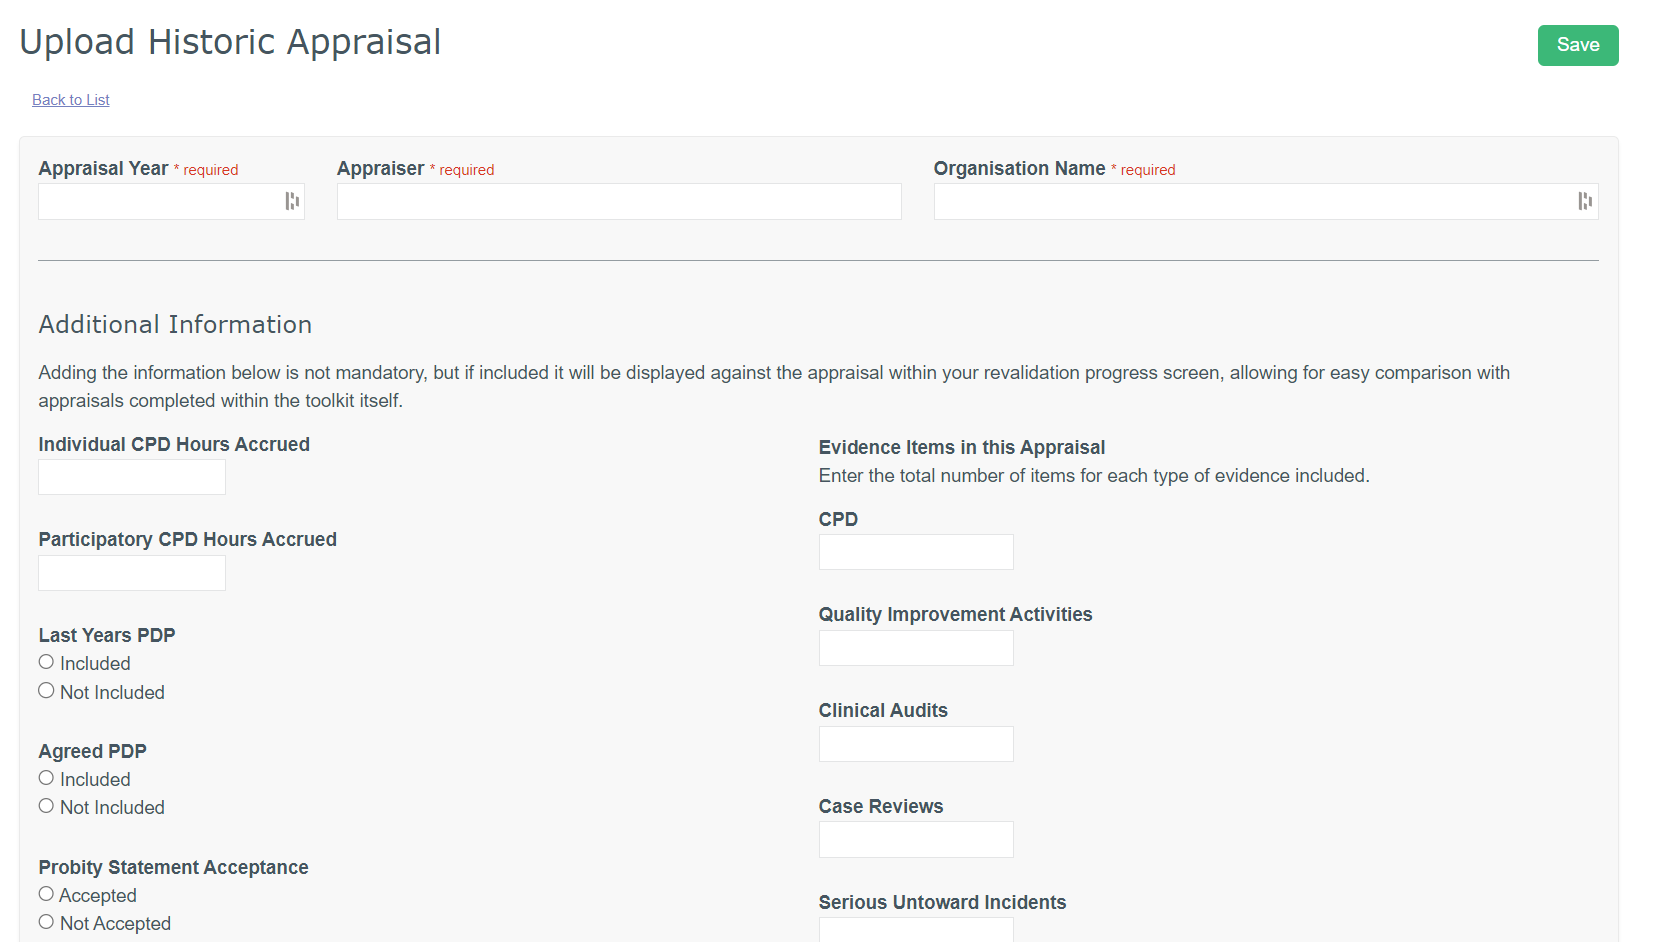
- Complete the fields and click

Once you have completed the details tab, you can upload any related documents in the Documents tab.
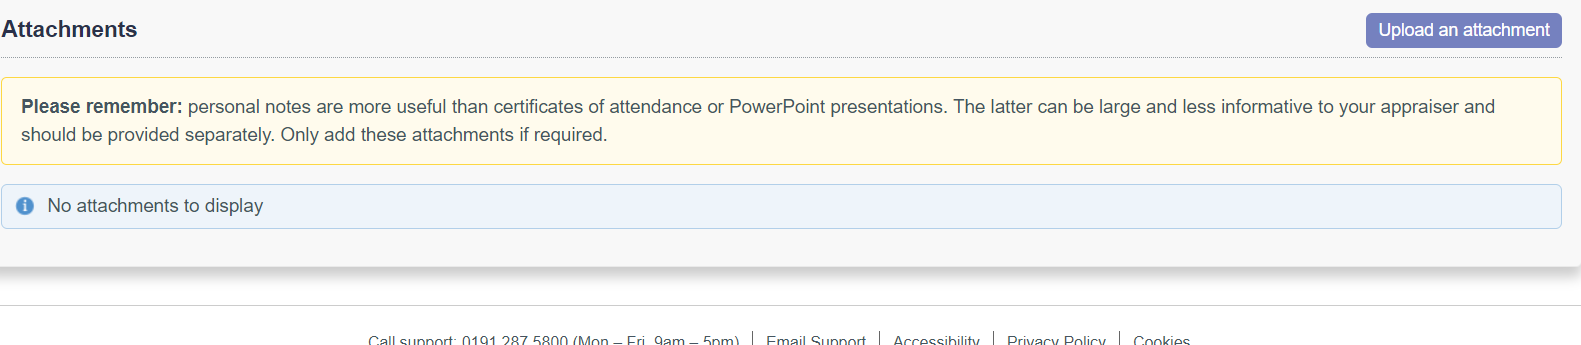
Use this tab to upload any documents as evidence.
Starting appraisals
New appraisals will be allocated by your Appraisal Administrator and will appear on your homepage.
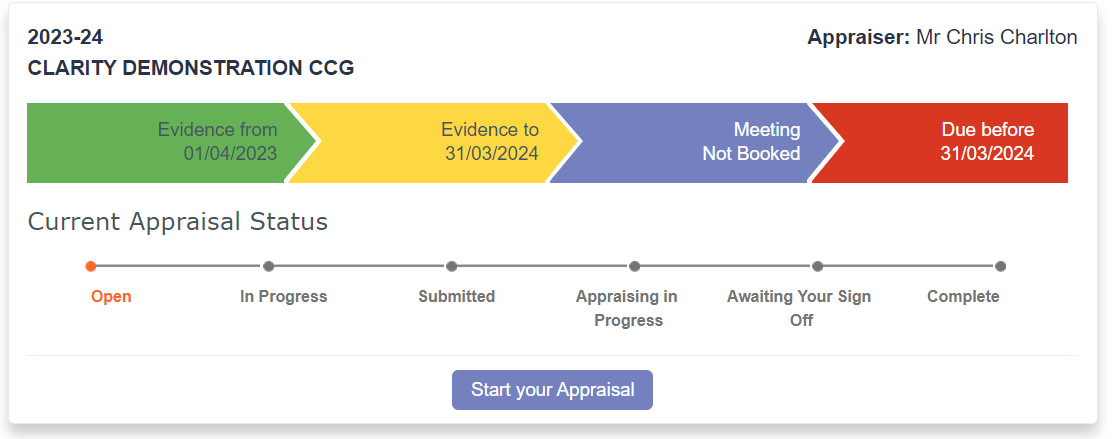
- Click
 on your homepage to begin entering evidence
If you have existing evidence in your Portfolio you can import them straight away:
- Tick the box to the right of the items you want to add to your appraisal (leave the boxes blank if you don't want to import any items)
- Click
 and then confirm your choices to be taken to your Appraisal Dashboard.
Your Information
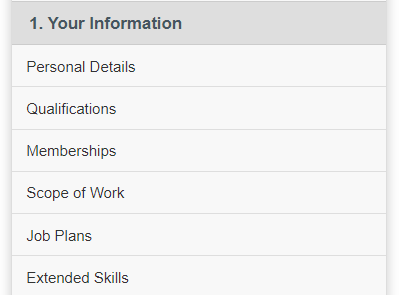
Form 1 contains your Personal Information, Qualifications and Memberships. You will enter most of this during your registration or in your Professional Profile.
Remember to reflect on your evidence in your appraisal!
Job Plans
You can also add job plan documents to your appraisal as additional evidence.
- Click "Job Plans" in Form 2 of your appraisal left navigation bar.
- Click

- Select the role you wish to attach your job plan to
- Click
 and select your job plan from your computer documents
 - Click

You can download your job plan at any time by clicking  in the documents column of the Job Plan table – your attached file should start to download automatically
Appraisal Information
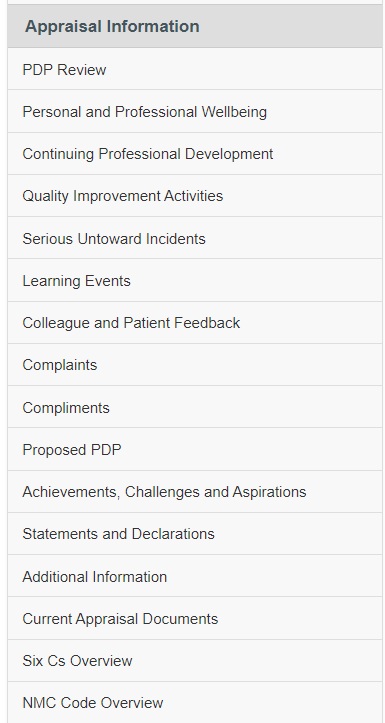
Form 3 of your appraisal contains your appraisal evidence. The information you include here will be the main basis of your appraisal.
Your evidence should cover the full scope of your professional roles within and outside of the NHS.
Click here to see details about each type of evidence you can add.
Click here to see how to add information to your appraisals.
Summary of discussion
After your appraisal meeting, your Appraiser will write a summary of everything that was discussed.
Before you sign off your appraisal you can read what your Appraiser has written and agree or disagree with their comments.
To read your Summary of Discussion:
- Click "Summary of Discussion" in the left navigation bar
- Read through the comments your Appraiser has made.
- Before you can sign off your appraisal you must agree or disagree with your Appraiser’s input by clicking one of the circles

If you disagree with any of your Appraiser’s comments you must put a statement in the text box explaining why you have disagreed.
When you have agreed/disagreed and provided a statement, click 
Agreed PDP
After your appraisal meeting your Appraiser will document the PDP activities that you agreed upon during your meeting. These may be incomplete PDPs that you have decided to carry on from last year or entirely new activities.
To view your agreed PDPs:
- Click "Agreed PDP"in your left navigation bar
Your Agreed PDPs are shown in a table.
- Click in the Actions column to view the details of your PDP.
Before you can sign off your appraisal you must agree or disagree with your Appraiser’s input by clicking one of the circles
If you disagree with any of your Appraiser’s comments you must put a statement in the text box explaining why you have disagreed.
- When you have agreed/disagreed and provided a statement, click
Appraiser statements
Before your appraiser can sign off your appraisal they must complete a number of statements that inform your organisation whether your appraisal has:
- reflected your entire scope of work
- reviewed your progress against your PDPs from last year
- resulted in a new set of PDPs for the coming year
- brought to light any information that raises concerns about your fitness to practise.
To review your Appraiser’s responses to these statements:
- Click "Appraiser Statements" in your left navigation bar
- Read each of the statements. Your Appraiser may have agreed or disagreed with the statements and provided comments to explain their choice.
- Before you can sign off your appraisal you must agree or disagree with your Appraiser’s input by clicking one of the circles
If you disagree with any of your appraiser’s comments you must put a statement in the text box explaining why you have disagreed.
- When you have agreed/disagreed and provided a statement, click
Submitting your appraisal
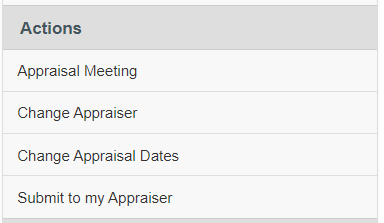
Once you have added the appropriate information to appraisal forms 1, 2 and 3 and have ensured all of your supporting documents are uploaded and the information contained is relevant and complete, you are ready to submit your appraisal.
- Click "Submit Appraisal" at the bottom of the left navigation bar
Before you submit your appraisal you must ensure you have included all necessary information. The submission overview page highlights any areas you have overlooked and shows:

Which sections of your appraisal are fully complete.

Any recommended information you have not included.

Any mandatory evidence you have missed.
You can't submit your appraisal until all of the errors in red are resolved.
Please Note: You can submit your appraisal if you have not completed optional areas (highlighted in blue or yellow) but it is recommended that you complete all areas to allow you to gain as much as possible from your appraisal experience.
When all sections are highlighted in green, click 
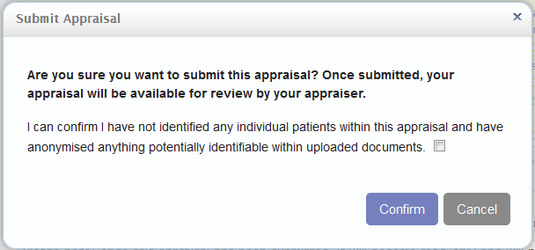
You must confirm that you have not included any patient identifiable information within your evidence before your appraisal is submitted.
- Tick the box and click

Un-submitting your appraisal
If you submit your appraisal and realise you need to add or edit an item, you can un-submit your appraisal if your Appraiser has not yet started reviewing it.
If you need to edit your evidence after your Appraiser has started reviewing it, you must ask your Appraiser or Administrator to revert it for you.
To un-submit your appraisal:
- Click "Revert Submission" in the left navigation bar
- Click

- Click

Once your appraisal status is back to "In Progress" you can add or edit any items you wish.
Signing off your appraisal
Once your Appraiser has completed Form 4 and signed off your appraisal, you can review their input and sign off your appraisal as complete.
Click here to see how to review your Form 4.
To sign off your appraisal:
- Click "Sign Off " in your left navigation bar (or
 on your appraisal dashboard)
 - Click

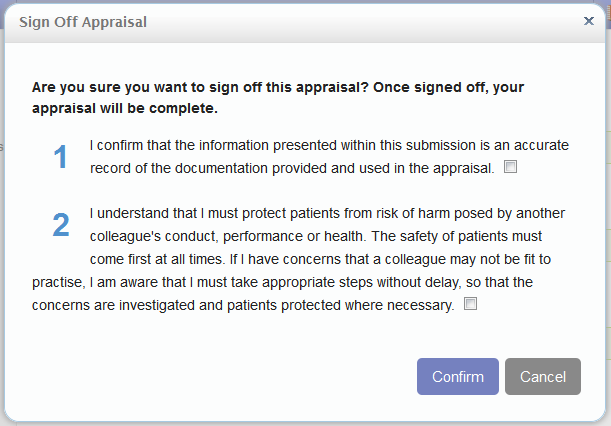
- Read and accept the statements in the pop up by ticking the boxes.
- Click
This will mark your appraisal as complete and you are ready to start collecting evidence for next year.