| Section | ||||
|---|---|---|---|---|
|
Click the links below for more information on some of the tools in Clarity Appraisals:
| Section | ||||||||||||
|---|---|---|---|---|---|---|---|---|---|---|---|---|
|
| Anchor | ||||
|---|---|---|---|---|
|
Click "Messages" in your top menu bar to be taken to your Clarity Appraisals Messages inbox.
Clarity Appraisals will alert you with personal messages when:
- You are allocated an appraisal/Appraiser
- There is a change to your appraisal status (e.g. your Appraiser signs off your appraisal)
- Your Appraiser/appraisal due date is changed
- You are added/removed from an organisation
- There is a change to your appraisal appointment.
 New, unread messages are highlighted in bold text
 Old messages you have already read are in regular font.

To view a message:
- Click
 to see the content of the message.
 - Click
 to delete the message.
 - Click
 to leave the message and return to the Messages page.
| Anchor | ||||
|---|---|---|---|---|
|
While reviewing your appraisal, your Appraiser may annotate your evidence with shared notes with advice, tips or information for you to read.
If your Appraiser has added a note to an evidence section in your appraisal, you will see
If your Appraiser has added a note to an evidence section, click  to view their comments.
If your Appraiser has added a note to an evidence item, click the icon to view their comments.
| Info |
|---|
If your Appraiser makes any changes to these notes they will be updated in real time and will always reflect the most recent version. |
| Anchor | ||||
|---|---|---|---|---|
|
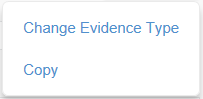
Copying an evidence item
From the Edit Item page you can copy an evidence item, allowing you to attach it to more than one appraisal when appropriate.
Open the item you wish to copy and click  in the top right corner
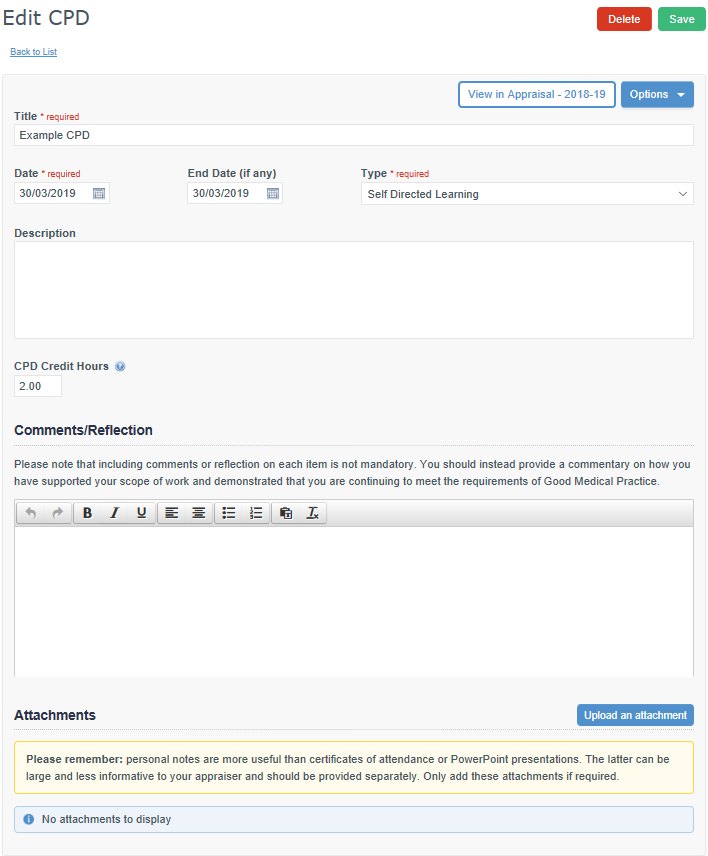
Click 'Copy' from the drop down menu.
A duplicate of the item will be created. It will be visible in your portfolio as 'Item – copy' to allow easy identification of the original item.

| Anchor | ||||
|---|---|---|---|---|
|
To see your Revalidation Progress:
- Click “Revalidation” in your top menu bar

The Revalidation section allows you to create a Revalidation cycle by entering your Revalidation cycle period and Revalidation date.

then click 
Once the cycle has been created you can allocate current, completed and historic appraisals to the cycle by clicking on  under Cycle Details on the right side of the page.
This will display a list of your appraisals (current, completed (using Appraisal Toolkit) or historic (uploaded manually).

Select the appraisals you wish to add to the cycle by clicking in the tick box to the left of the appraisal(s) then click
Evidence towards revalidation which is included in completed appraisals (completed using Clarity Appraisals or appraisals manually uploaded where the Additional Information has been entered) will be populated in the table at the bottom of the page under Completed Appraisals.
The Revalidation Progress screen uses a traffic light system to show whether required and recommended criteria for revalidation has been met.
Any information that is deemed mandatory for revalidation by the GMC that is not included will show red

Any recommended information that has not been included will show yellow

If you have included the required information it will be green

The Completed Appraisals table displays details of the allocated strengthened appraisals you have completed through Clarity Appraisals or any historic appraisals uploaded manually to the Historic Appraisal table.
Where the table displays  for an uploaded appraisal, the 'Not set' link can be clicked on to enter the Additional Information as shown below. This information can also be entered when you upload an appraisal to the Historic Appraisal table (Appraisal section).

| Section | ||
|---|---|---|
|
Historic Appraisals
This table contains any appraisals you have manually uploaded to Appraisal Toolkit. These appraisals may be “old style” organisational appraisals or strengthened appraisals completed using alternative systems in the past. Click the links in the “Documents” column to download the appraisal documentation.
| Anchor | ||||
|---|---|---|---|---|
|
Once you have completed your appraisal, your Organisation may require you to complete a feedback questionnaire to allow them to adjust their appraisal process according to the thoughts of their members.
If ORSA questionnaires have been enabled by your organisation you will be prompted to complete it after signing off your appraisal.
The questions focus on:
- How long your appraisal took
- the organisation systems and support
- the skills of your Appraiser
- the appraisal itself.
Choose an answer for each question and click 
There are four pages to complete. Once you have answered all of the questions, click  .
.
Click here to see what questions you will be asked.
| Anchor | ||||
|---|---|---|---|---|
|
Booking your Appraisal Meetings:
You can book your appraisal meeting from your homepage:
| Section | ||||
|---|---|---|---|---|
|
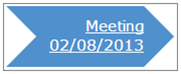
If your Appraiser has available slots for you to book, they will appear in a grid in the Appraisal Meeting section.
To book a slot:
- Click

- Click
 to confirm
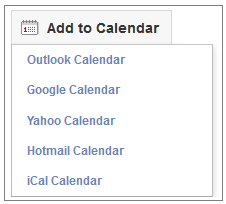
Once your meeting is booked, you can export the details into any external calendars you have (such as google calendar or outlook). See the image below for the calendars supported.
| Section | ||||||
|---|---|---|---|---|---|---|
|

If your Appraiser has not made slots available, you can send them a reminder:
- Click
 to send them a reminder to open up some slots for you.
If you have booked a meeting and want to adjust the time or location, you can suggest alterations:
- Click
 or
or 
- Enter a new time or location
- Click

Your Appraiser will either accept or reject your changes.